|
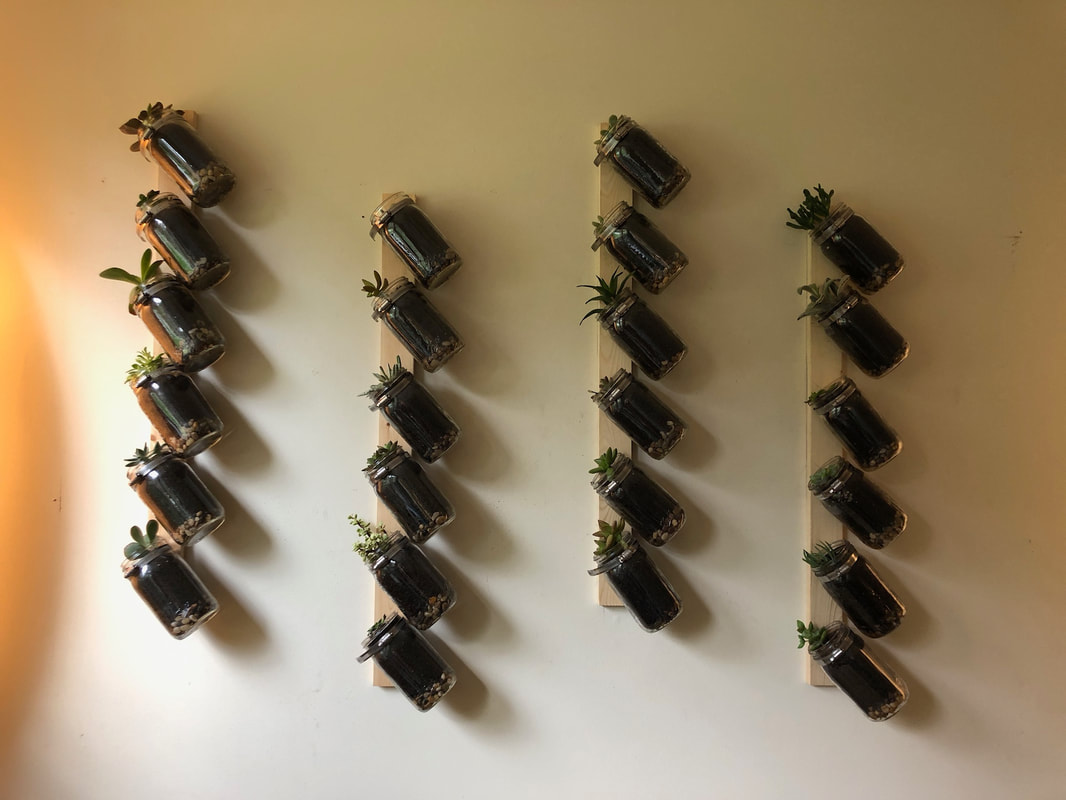
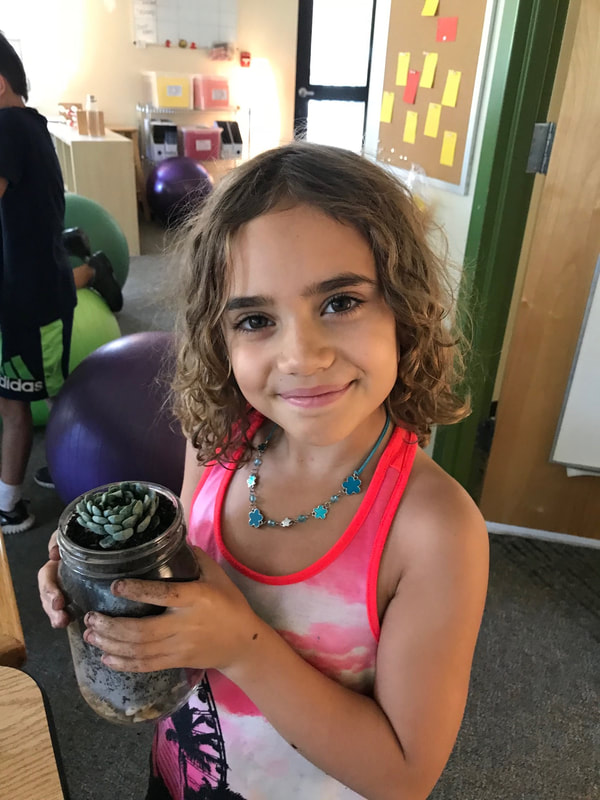
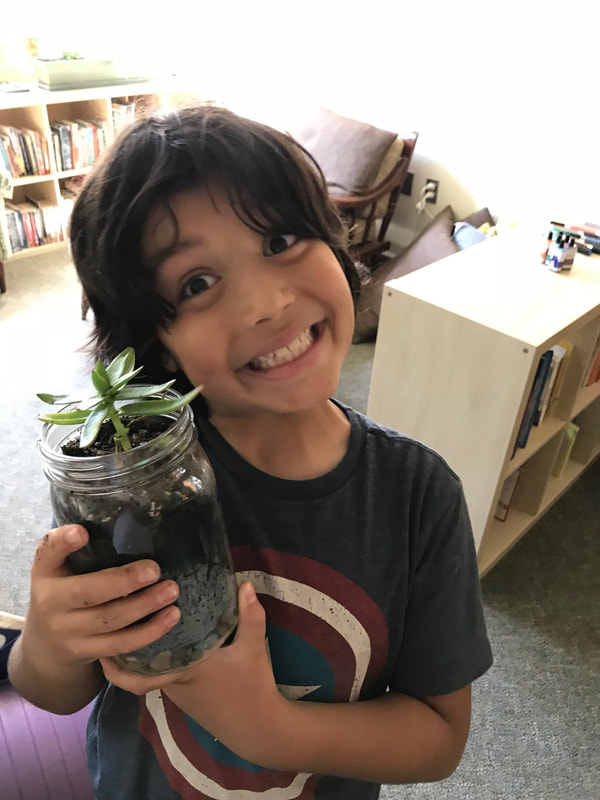
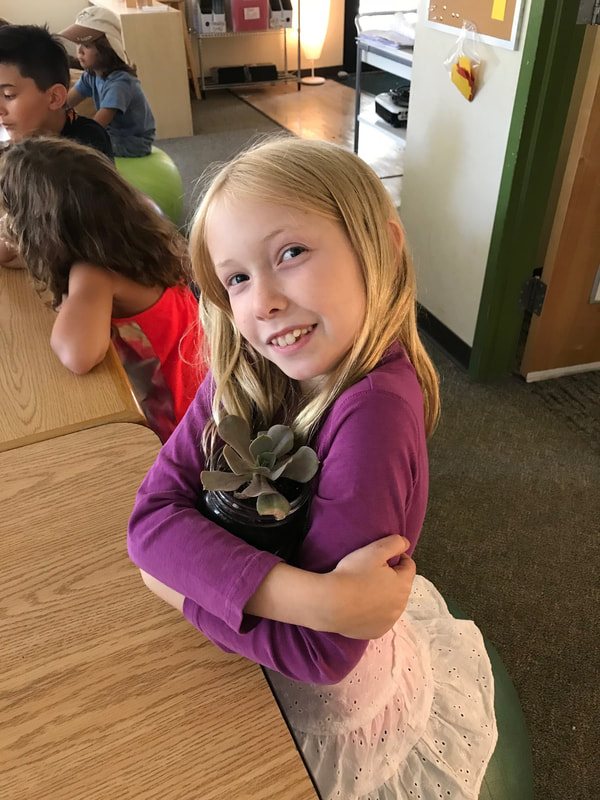
After days and weeks of planting, planning, problem solving, and more problem solving, we are proud to announce that our living wall in the classroom is officially up!
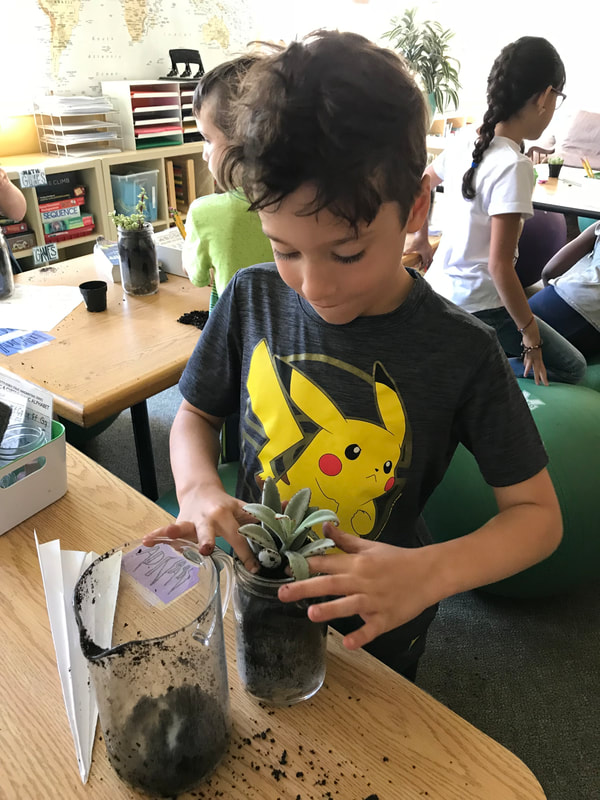
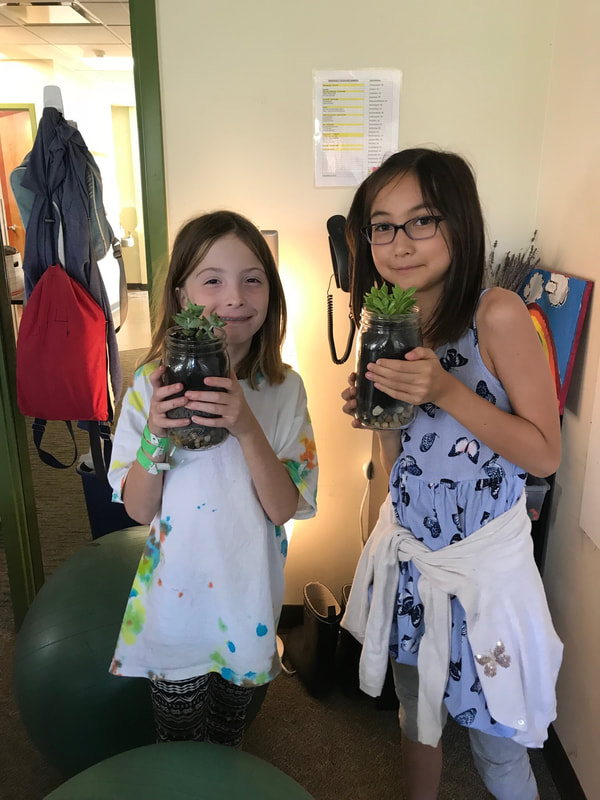
The Beginning On the first day of school, students worked together to complete a scavenger hunt that gave them clues to unlock our next activity: "L-i-v-i-n-g W-a-l-l-, B-a-b-y-!" With puzzled faces, we inquired what this could possibly mean, deciding that, knowing Chris and myself, this had to do with somehow putting plants onto the wall. Before we began we brainstormed the many benefits that come from having and caring for indoor plants. Here is the list of benefits we came up with:
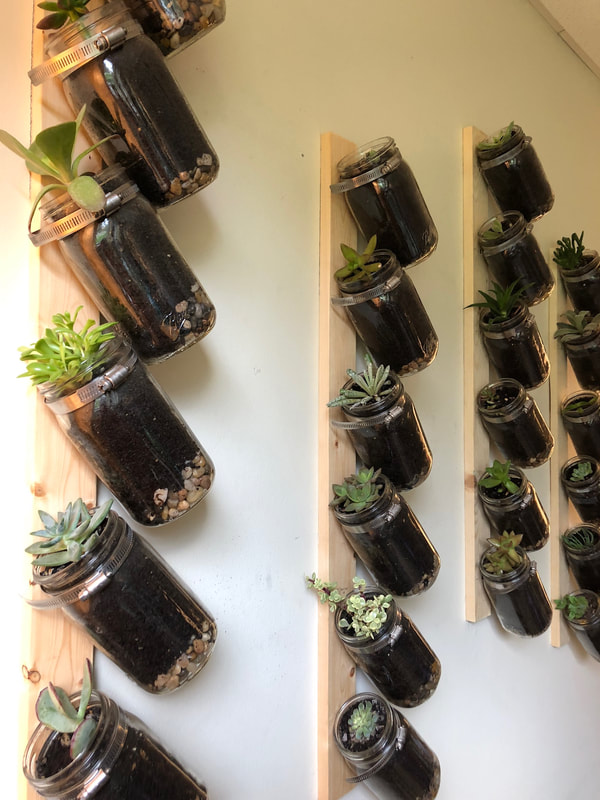
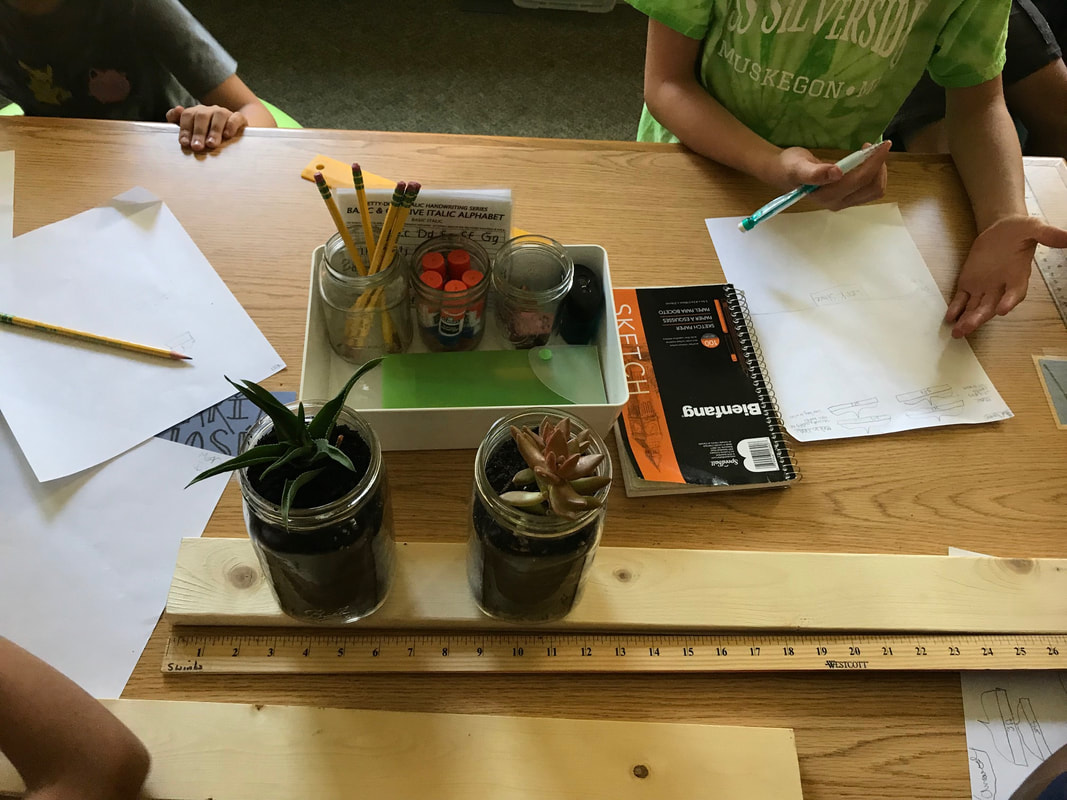
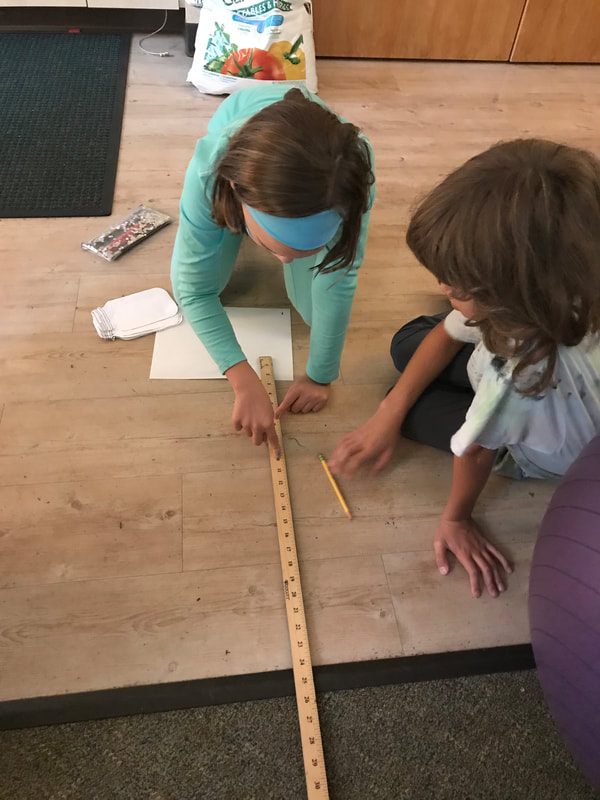
The Process The next step was for students to figure out how to place 24 mason jars onto the wall in an aesthetically pleasing fashion. Students were given the following information:
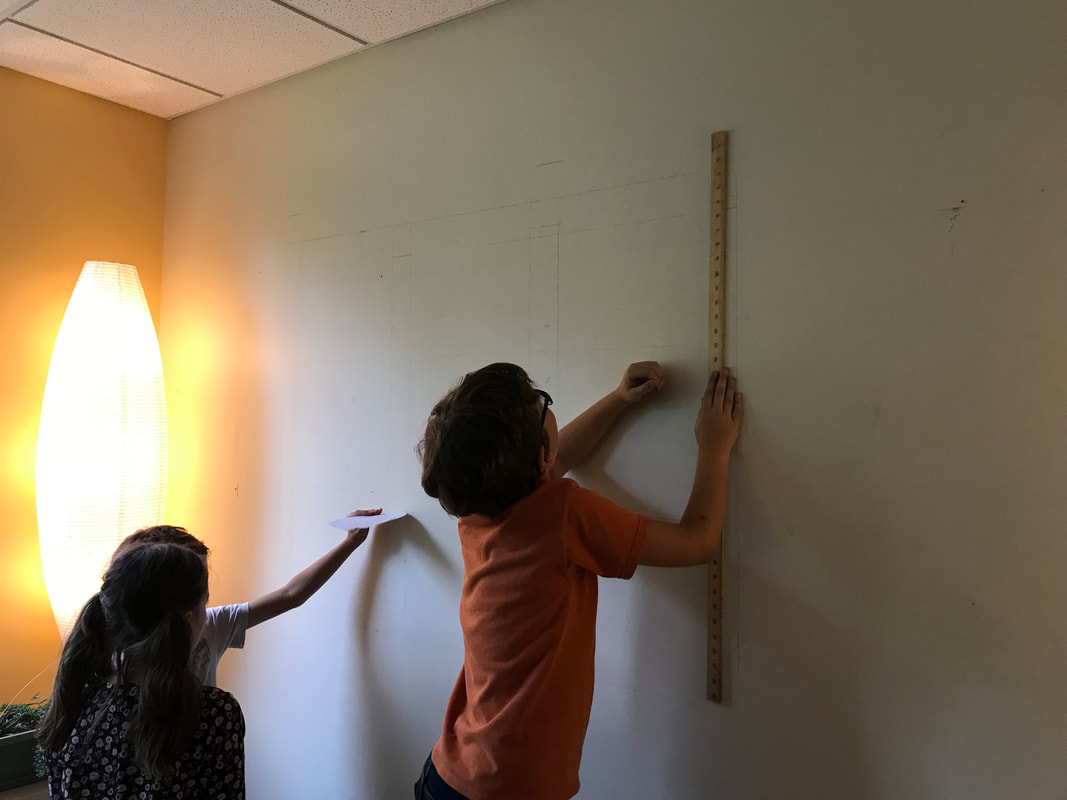
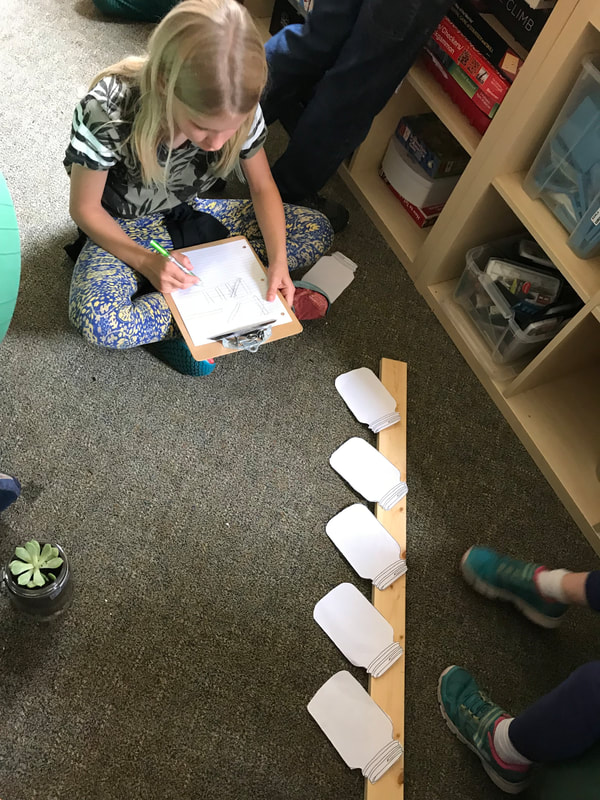
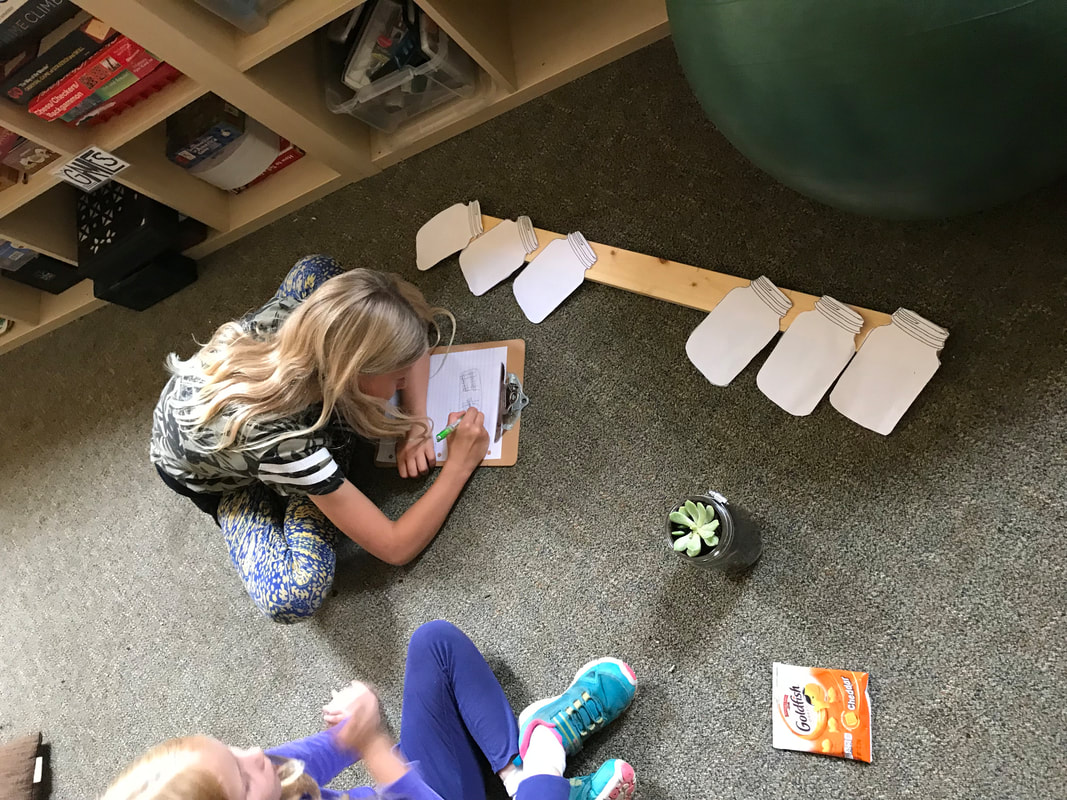
With a wide variety of plans for our living wall, each group presented their new design to the class. For each, we listed pros, cons, and potential questions or concerns for the designs. In the end, we decided that the four boards would go vertically on the four studs, and that we could keep the original spacing of mason jars if we tilted the mason jars towards the window, which would actually provide them more light from the west-facing window. Students took turns assembling the living wall, first screwing in the wooden boards, marking the placement of each jar, and screwing the jars into their hose clamps.
1 Comment
Amanda Brown
10/12/2018 10:40:57 am
Looks great! Thanks for sharing. I have an empty wall in my house ... thinking about hiring the 3/4s to come develop a living wall design! 😉 Leave a Reply. |

Archives
May 2019
Categories |


 RSS Feed
